|
Home > Works in Stone |
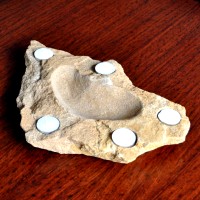
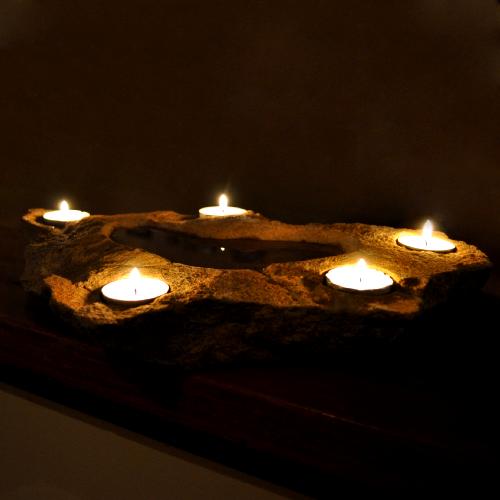
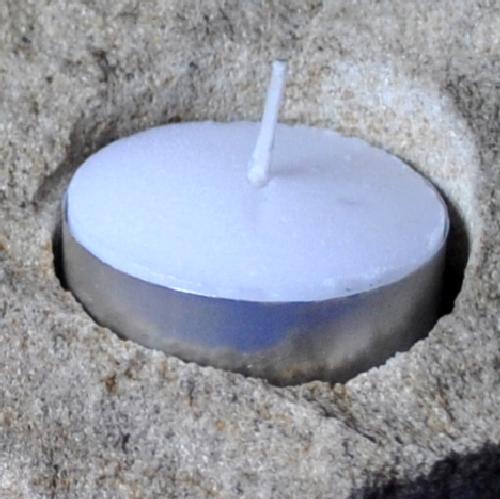
Carved Sandstone Table Centrepiece with Candle Holders |
 |
These low carved sandstone bowls that are surrounded by a ring of candles came about when I was building a sandstone retaining wall in my garden. Part of the building process was to use a sledge hammer to smash great big lumps of sandstone into bits that I could pick up and carry.
During the build, I found that a few of the stones had split along the rock strata into flat sheets rather than rounded lumps that I wanted for the wall. After putting some of them aside and finishing my building work, I then turned my attention back to the flat rocks and what I could do with them. |
|
|
Current Rating: 4.00 |

From: 4 votes
|
|
|
|
My objectives when starting to work with these flat sheets of stone were simple. First, I wanted to keep their shape as natural as possible. Second, I wanted to be able to feature the rocks structure and third, with all of my previous work in stone being related to making candle holders I knew that I wanted to continue with this theme.
What I came up with in the end was to make a Carved Sandstone Candle Holder Table Centrepieces. |
 |
How did I make them? |
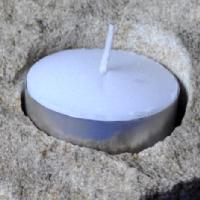 |
Well after deciding on the layout, the first step was to grind out the holes to house the candles. I’ve done this using my Dremel High speed tool with a silicon carbide grinding wheel attachment.
After this, it is simply a matter of marking out the boundaries for the bowl before using an Angle Grinder with a masonry disk to grind it out. With the heavy grinding complete, all that remains to do is to tidy up the surfaces using the Dremel with an aluminium oxidde grinding wheel before moving onto the base. |
Working the base of the piece so that it is flat and suitable to sit on delicate surfaces is a two stage process again involving the use of both the Angle and Dremel grinders. The first stage is of course to make the base flat using the Angle Grinder. As the finish does not need to be perfect, this is actually a fairly quick and simple process.
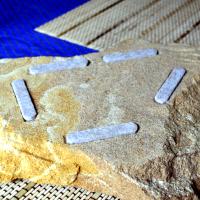
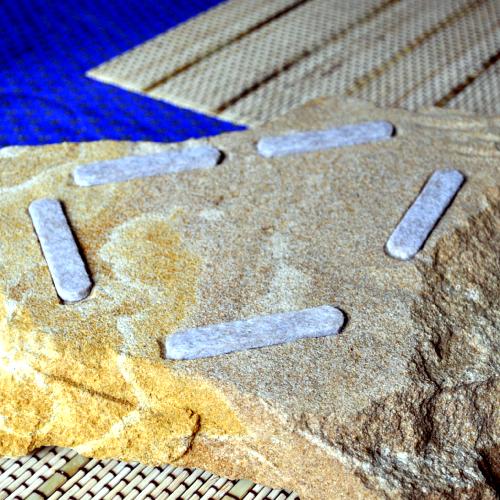
The final step is to decide where to place the feet on the piece. The feet are usually made up of a layer of felt with a sticky back that will allow them to stick to the rock. As the felt that I use is about 5mm, I like the grind out and inlay the feet so that there isn’t a huge gap underneath the piece. As this job requires a fair degree of precision, I would use the Dremel grinding wheel to do it. |
 |
One thing I will note is that you need to wash the piece to remove all the dust from the grinding process before trying to stick on the felt. After that, once the feet are attached the piece is complete and ready to use. |
Like this piece? There might be one similar available as a prize
|
| Click here to visit the Prize Page |


Current Comments
0 comments so far (post your own)